Use AI re-optimization on your top products first to maximize measurable upside.
When to Use This Guide
Use this when you are adding products, cleaning your catalog, or improving click-through on existing product placements.
Before You Start
- You are logged into WordPress with an Administrator account.
- You can open PassiveWP -> My Products.
- Your affiliate network and destination links are ready.
Exact Menu Path
WordPress Admin -> PassiveWP -> Products -> My Products
Step-by-Step Walkthrough
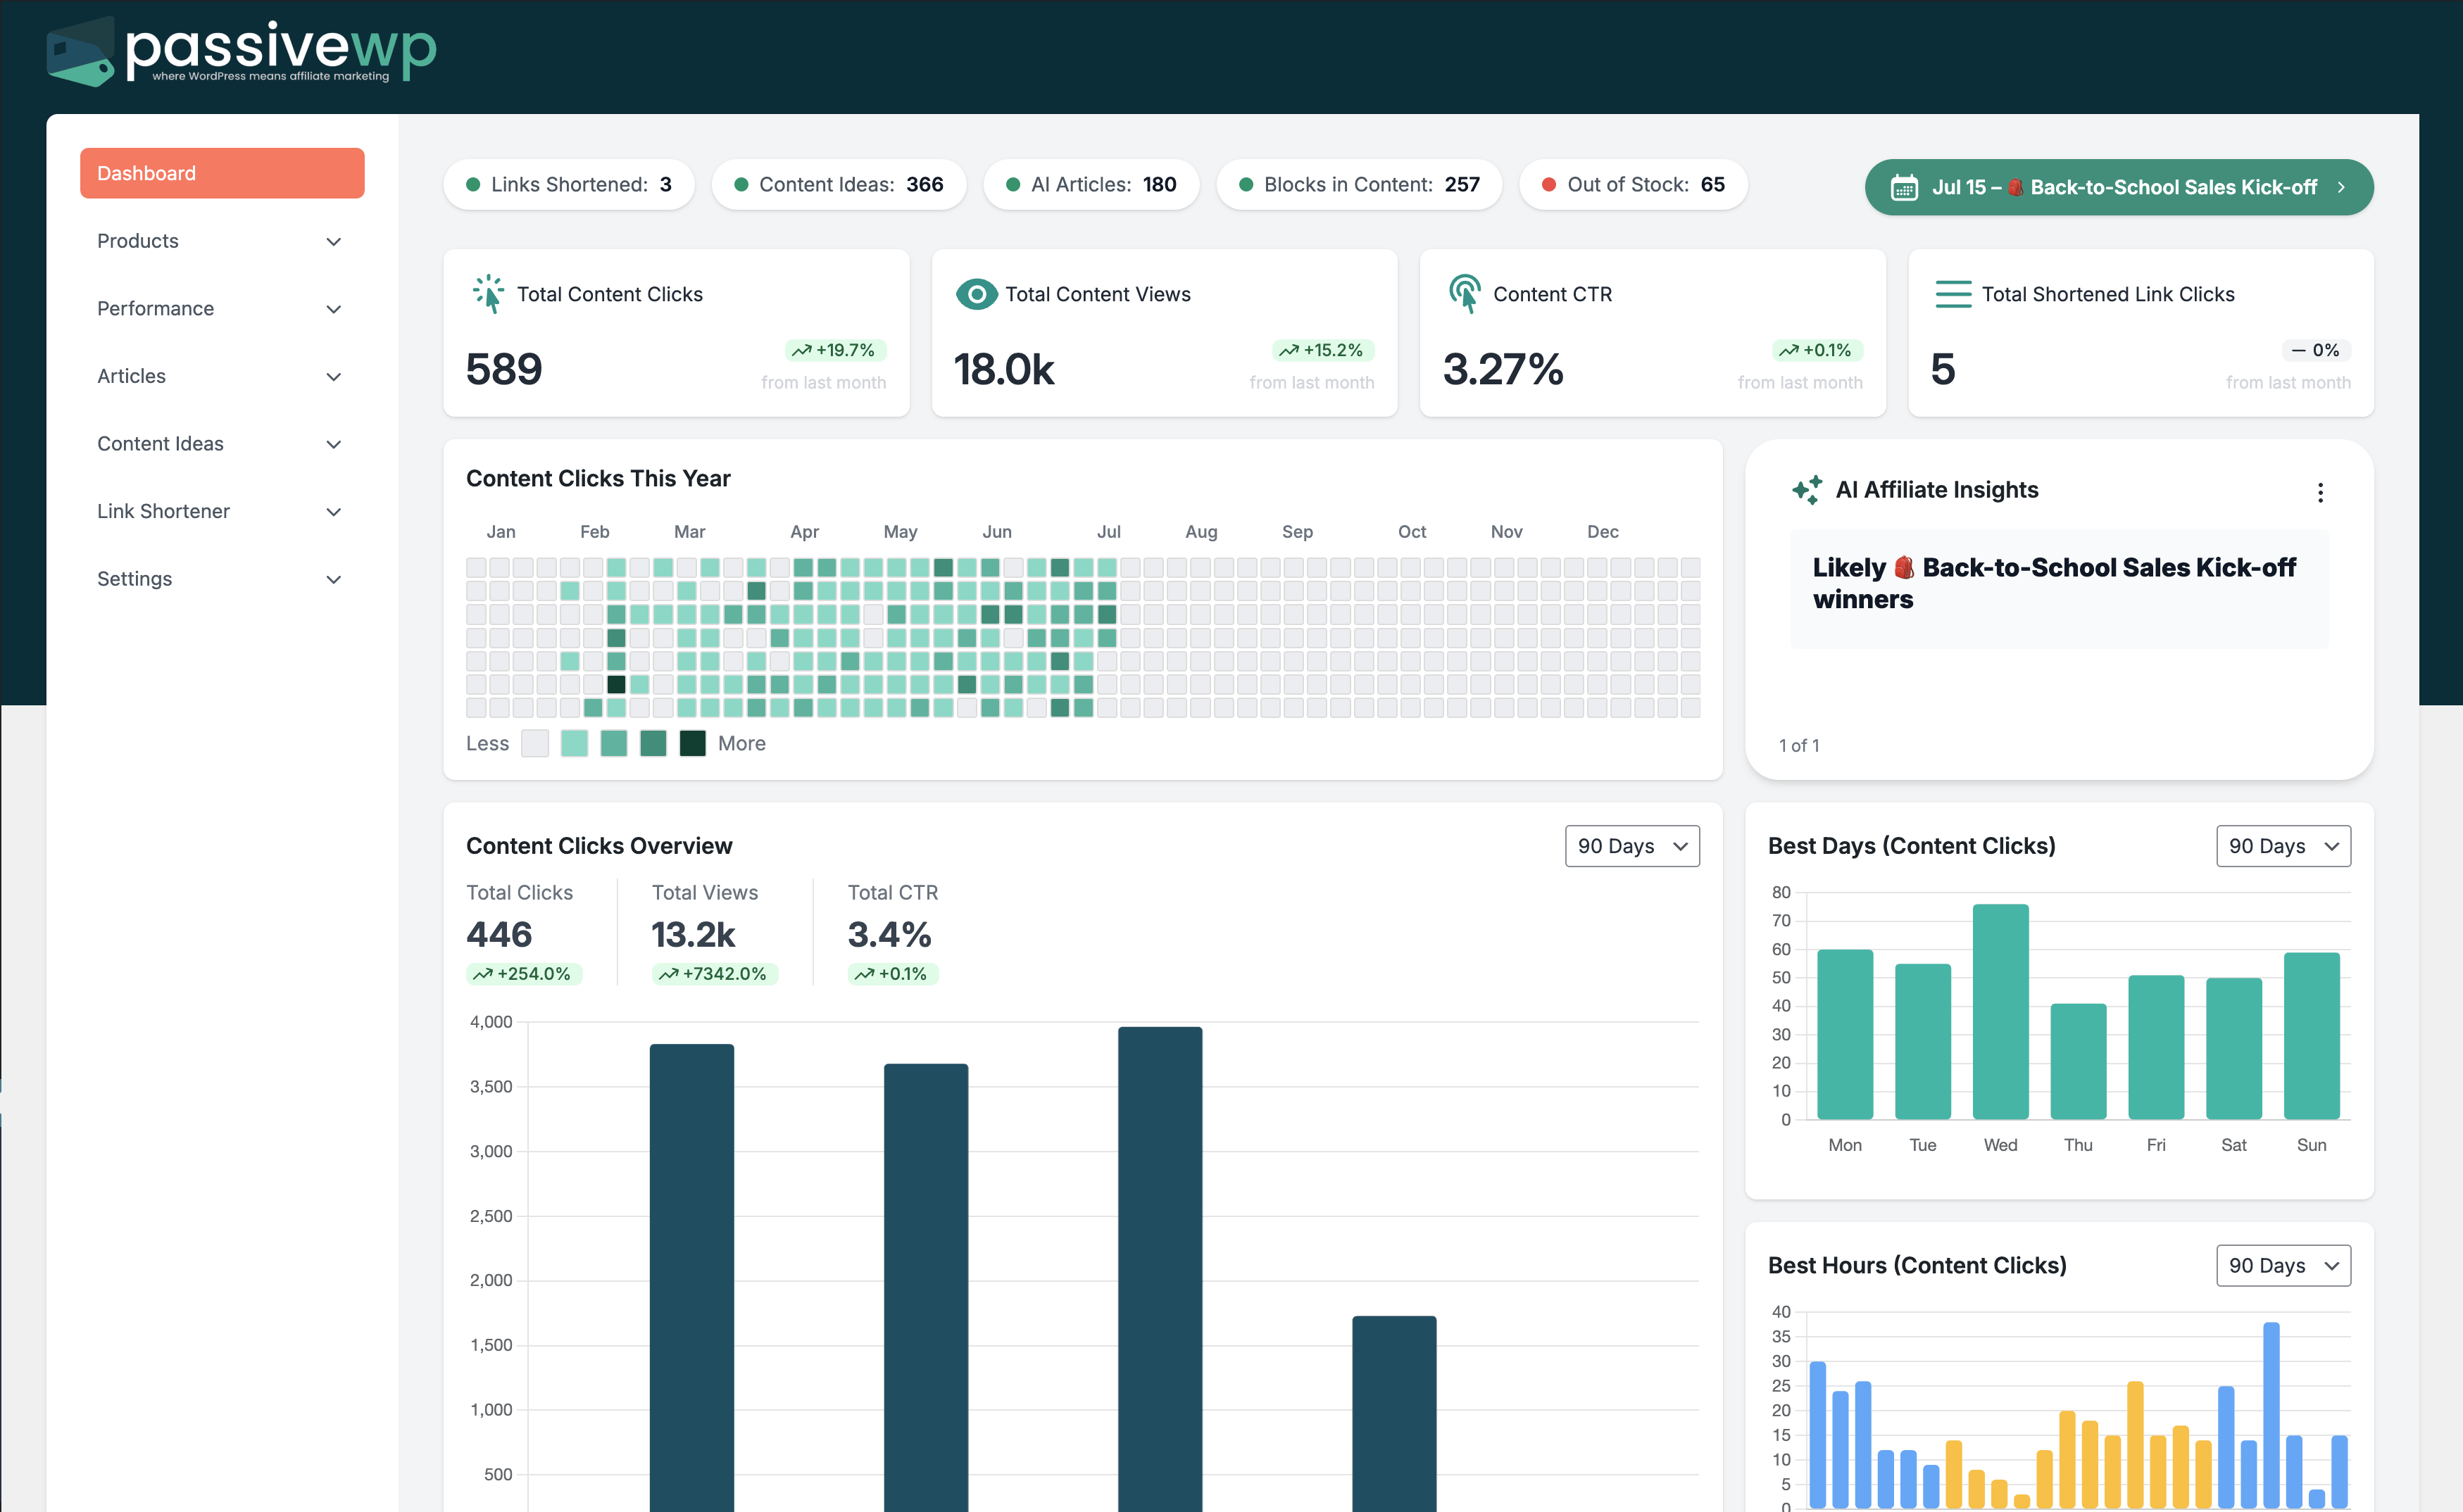
Step 1: Select products with high impressions but weak CTR.
Go here WordPress Admin→PassiveWP→Products→My Products
Do this In WordPress Admin→PassiveWP→Products→My Products, do this in order: open the relevant panel, find the control related to "Select products with high impressions but weak CTR.", apply one change, click Save/Run, then reload once to confirm it stuck.
Confirm The item should appear/update in My Products and be visible on at least one live page preview.
Step 2: Run AI optimization for titles/descriptions in controlled batches.
Go here WordPress Admin→PassiveWP→Products→My Products
Do this Use WordPress Admin→PassiveWP→Products→My Products to run generation for one item first, review the output manually, then continue with the remaining items.
Confirm The item should appear/update in My Products and be visible on at least one live page preview.
Step 3: Review edits for factual accuracy and tone.
Go here WordPress Admin→PassiveWP→Products→My Products
Do this In WordPress Admin→PassiveWP→Products→My Products, do this in order: open the relevant panel, find the control related to "Review edits for factual accuracy and tone.", apply one change, click Save/Run, then reload once to confirm it stuck.
Confirm The item should appear/update in My Products and be visible on at least one live page preview.
Step 4: Publish and compare CTR over the next 2 weeks.
Go here WordPress Admin→PassiveWP→Products→My Products
Do this From WordPress Admin→PassiveWP→Products→My Products, choose your publish mode (Draft/Publish/Schedule), confirm date/time if scheduling, then save or run.
Confirm The item should appear/update in My Products and be visible on at least one live page preview.
Step 5: Keep winning variants and revert weak ones.
Go here WordPress Admin→PassiveWP→Products→My Products
Do this In WordPress Admin→PassiveWP→Products→My Products, do this in order: open the relevant panel, find the control related to "Keep winning variants and revert weak ones.", apply one change, click Save/Run, then reload once to confirm it stuck.
Confirm The item should appear/update in My Products and be visible on at least one live page preview.
Quick Troubleshooting Checks
- Check product source and sync status before troubleshooting content blocks.
- Run sync for one product before running a bulk sync.
- Confirm destination URLs and affiliate network values are populated.
Common Mistakes to Avoid
- Importing too broadly and ending up with low-intent products.
- Not tagging products, which makes insertion and filtering harder.
- Ignoring out-of-stock cleanup and sending traffic to dead offers.
Success Checklist
- Products are tagged by category and buyer intent.
- Top pages have at least one relevant monetized product block.
- Out-of-stock review is scheduled weekly.
Pro Tips for Affiliate Marketers
- Start narrow with best-converting categories, then expand.
- Use fresh product copy for top pages first.
- Review product CTR and conversion rates before importing more.
If You Get Stuck
Open the matching troubleshooting article in this help center and repeat one step at a time instead of changing multiple settings at once.