Use this guided setup to connect your core services, create your first product/link, and publish confidently without technical overwhelm.
When to Use This Guide
Use this when you are setting up PassiveWP for the first time or tightening your weekly operating process.
Before You Start
- You are logged into WordPress with an Administrator account.
- PassiveWP is installed and activated.
- You can open the PassiveWP menu in wp-admin.
Exact Menu Path
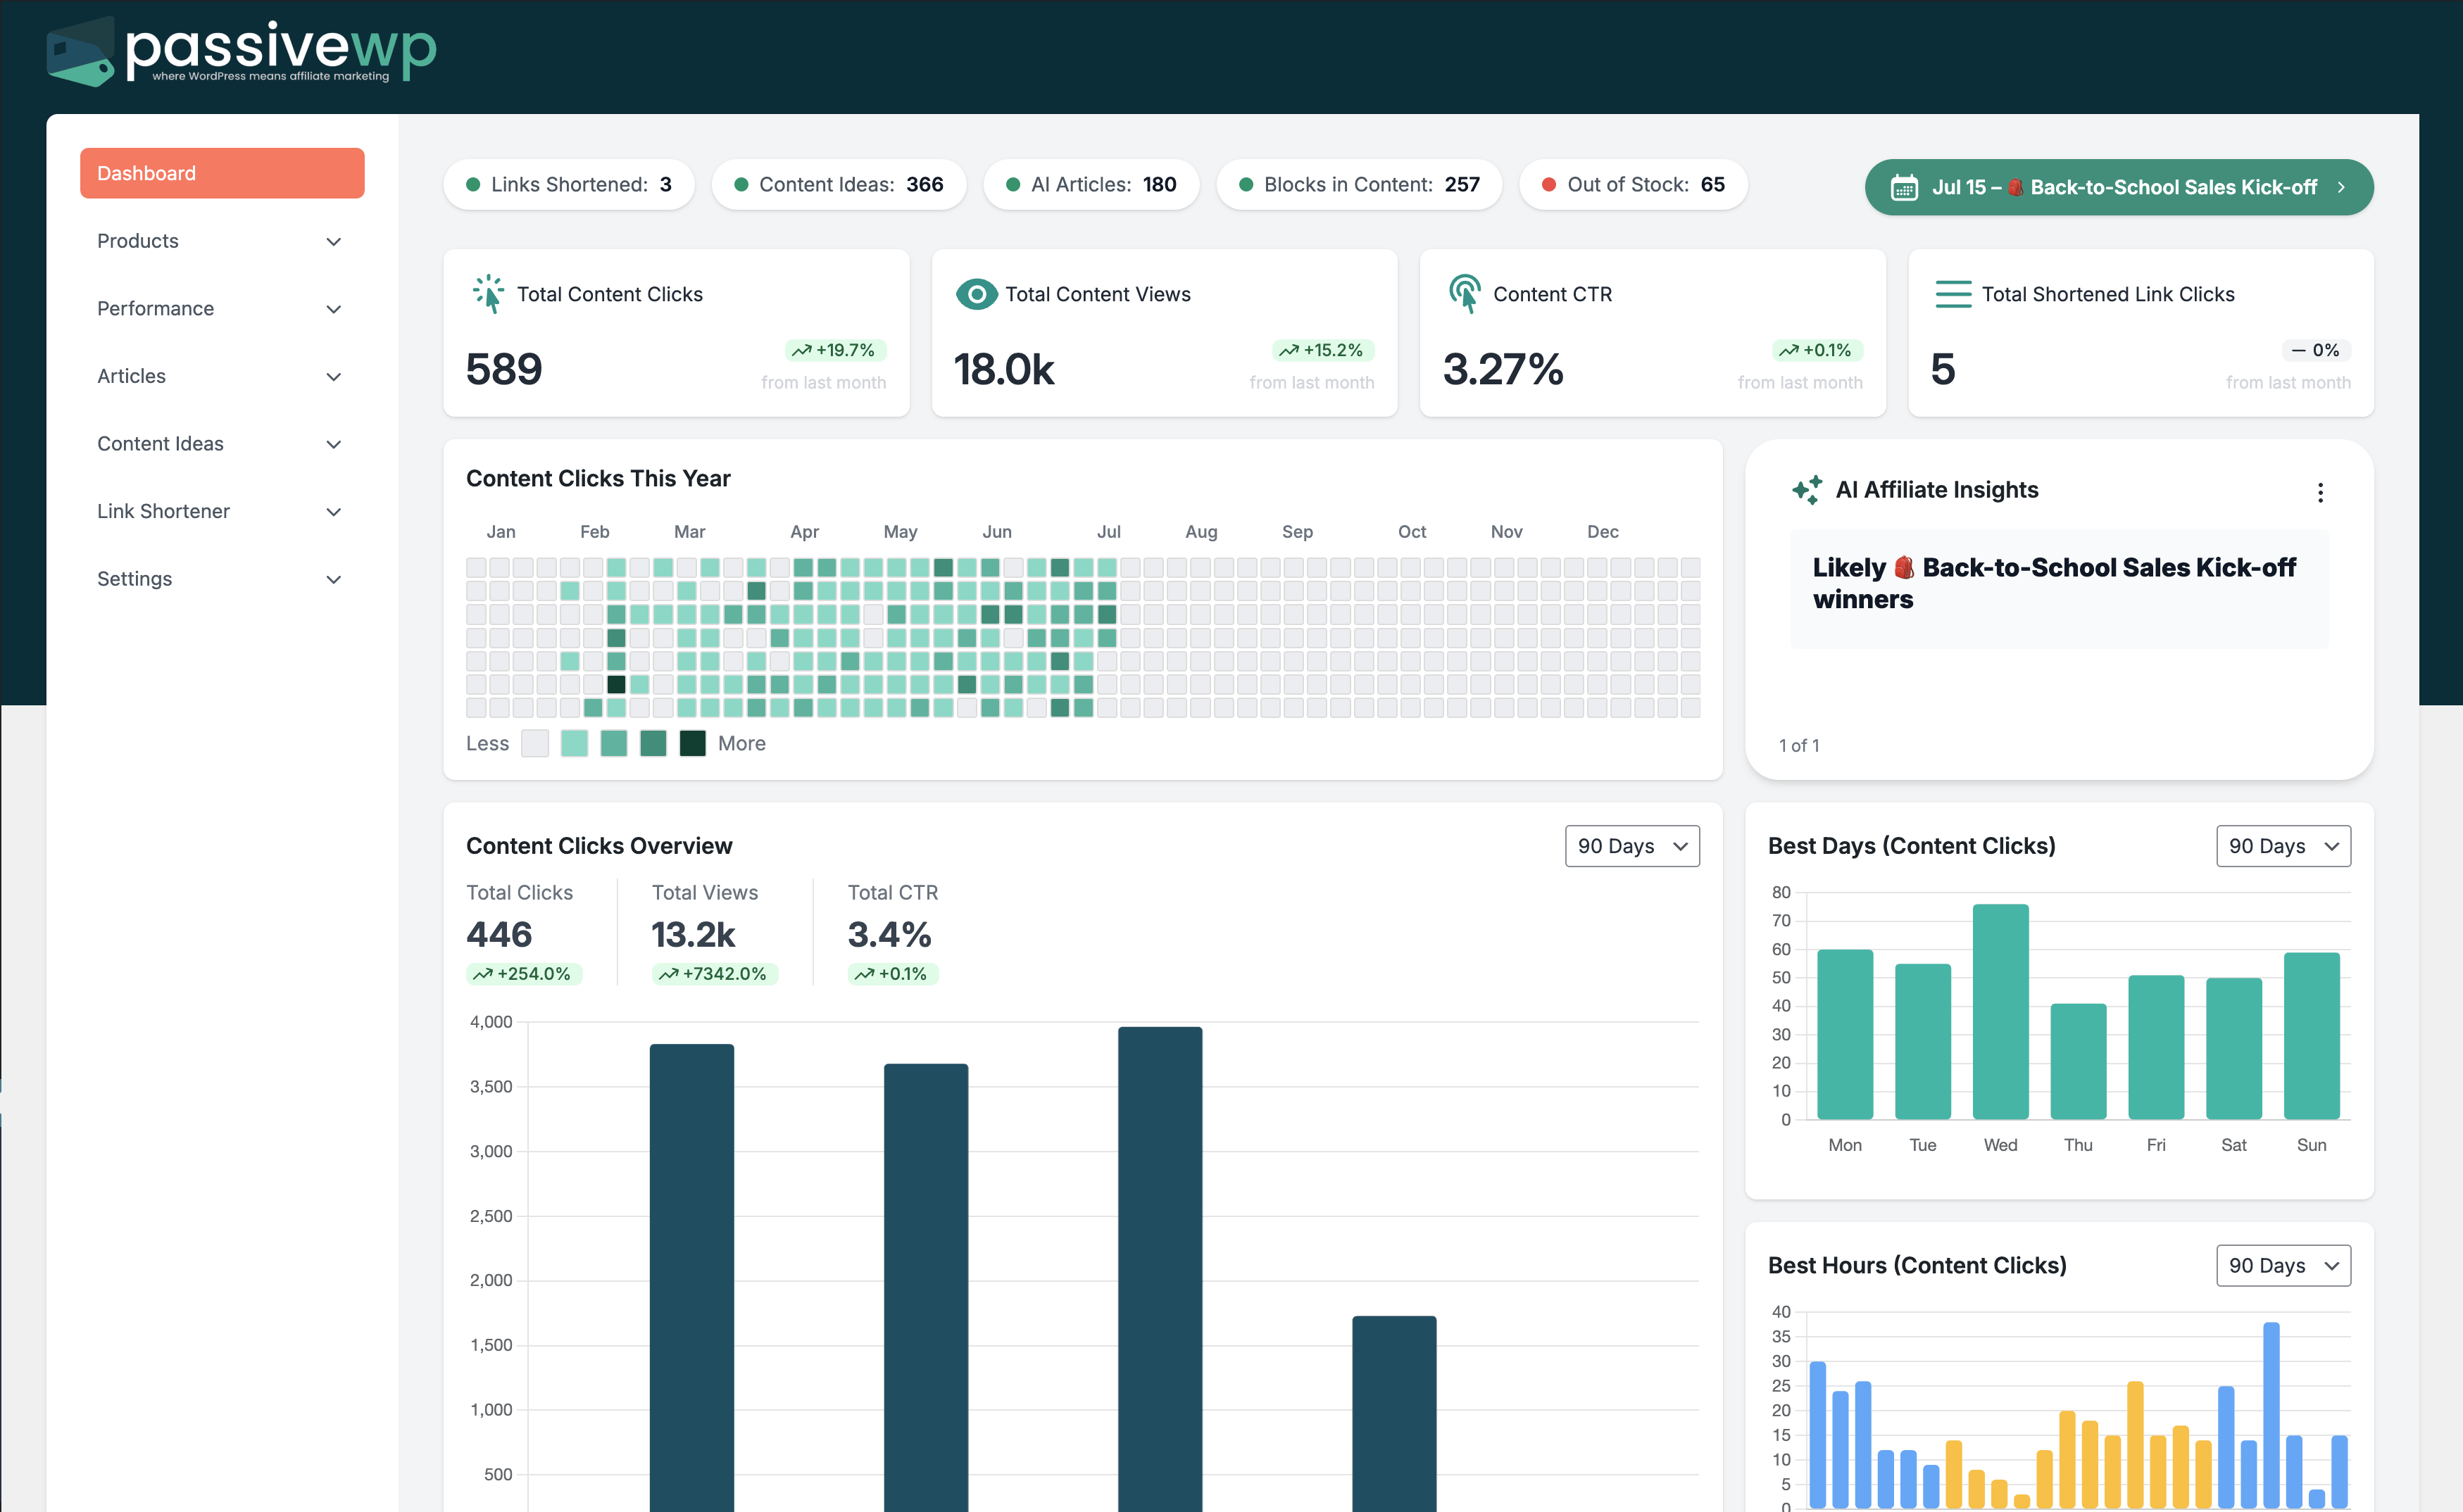
WordPress Admin -> PassiveWP -> Dashboard
Step-by-Step Walkthrough
Step 1: Open PassiveWP Dashboard and confirm the plugin menu loads fully.
Go here WordPress Admin→PassiveWP→Dashboard
Do this In WordPress Admin→PassiveWP→Dashboard, do this in order: open the relevant panel, find the control related to "Open PassiveWP Dashboard and confirm the plugin menu loads fully.", apply one change, click Save/Run, then reload once to confirm it stuck.
Confirm No blocking error banner appears, and the next step is available.
Step 2: Visit Settings and save once to initialize all default options.
Go here WordPress Admin→PassiveWP→Dashboard
Do this Complete the field changes in WordPress Admin→PassiveWP→Dashboard, then click Save Changes and do not leave the page until the success notice appears.
Confirm Reload the screen once and confirm your values are still saved.
Step 3: Connect Amazon credentials and run the connection test.
Go here WordPress Admin→PassiveWP→Dashboard
Do this Open WordPress Admin→PassiveWP→Dashboard, click the test/validate action in that screen, and wait for the result notice before continuing.
Confirm You should see a Connected/Success result with no red error notice.
Step 4: Add your OpenAI key if you plan to use AI content features.
Go here WordPress Admin→PassiveWP→Dashboard
Do this Use WordPress Admin→PassiveWP→Dashboard to run generation for one item first, review the output manually, then continue with the remaining items.
Confirm New rows should appear in the list and be editable.
Step 5: Import one product and create one branded link for a real campaign.
Go here WordPress Admin→PassiveWP→Dashboard
Do this In WordPress Admin→PassiveWP→Dashboard, run a small import/fetch first (1-5 items) so you can verify data quality before scaling up.
Confirm New rows should appear in the list and be editable.
Step 6: Publish one test post and verify click tracking works from a mobile device.
Go here WordPress Admin→PassiveWP→Dashboard
Do this Open WordPress Admin→PassiveWP→Dashboard, click the test/validate action in that screen, and wait for the result notice before continuing.
Confirm You should see a Connected/Success result with no red error notice.
Quick Troubleshooting Checks
- Refresh the page and confirm your WordPress user still has Administrator access.
- Save once, then reload to confirm changes persisted.
- Test one workflow at a time to isolate the issue.
Common Mistakes to Avoid
- Skipping setup tests and assuming everything is connected.
- Changing too many settings at once and losing track of what worked.
- Going live without a final click-through and conversion test.
Success Checklist
- Core settings saved successfully.
- At least one test completed end-to-end.
- You documented what changed and why.
Pro Tips for Affiliate Marketers
- Change one variable at a time so you can isolate results.
- Track outcomes weekly instead of reacting to one-day swings.
- Focus on revenue per click, not just traffic volume.
If You Get Stuck
Open the matching troubleshooting article in this help center and repeat one step at a time instead of changing multiple settings at once.